
 Written by
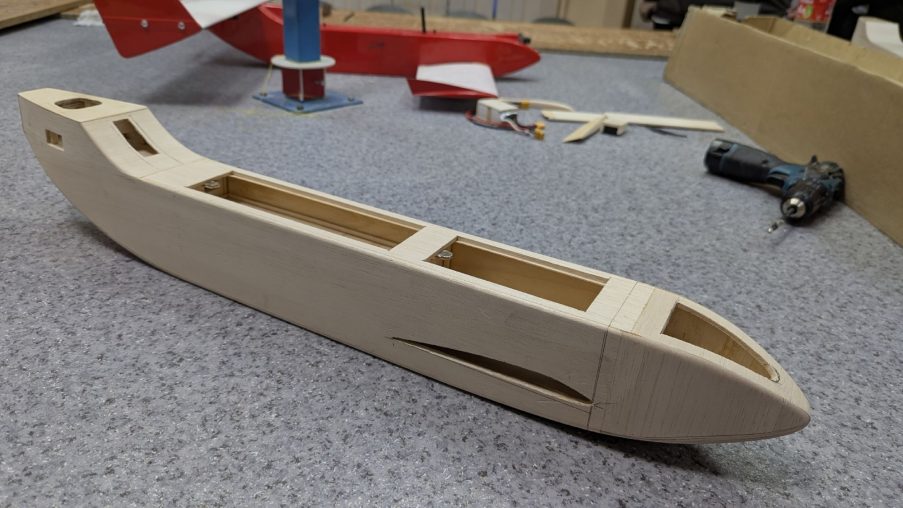
Building a wooden fuselage from scratch looks intimidating if you have only ever bought foam planes. It really isn’t. You are basically putting together a long, light balsa box that needs to survive belly landings in rough grass without snapping in half[cite: 2]. Before we get to the finished wooden shell sitting on the bench here, everything starts completely flat on the cutting mat.
1. Cutting the main skins and adding 1mm plywood doublers
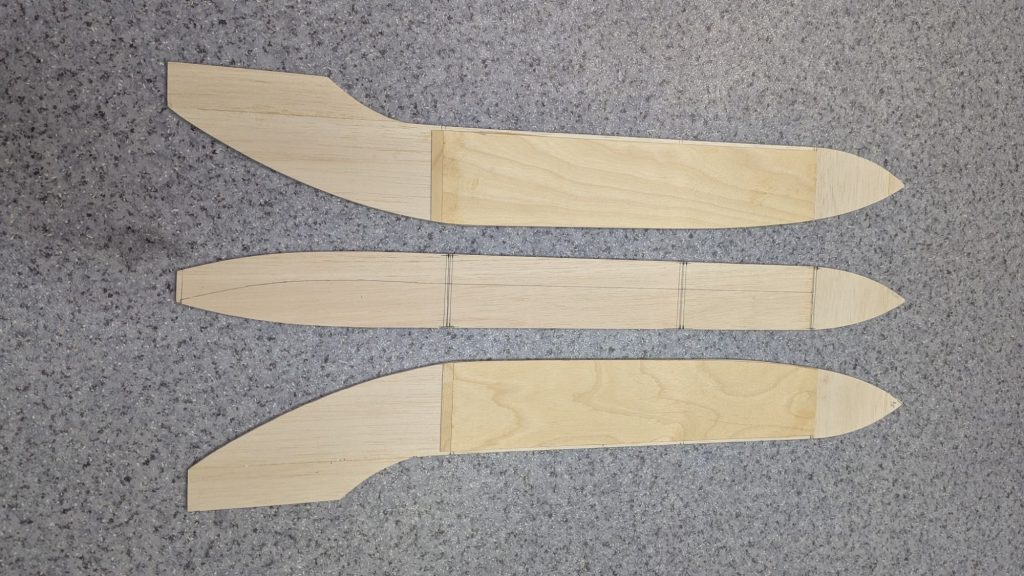
Start by tracing and cutting out your two main side walls and the central body strip from balsa sheet. Balsa is great because it weighs almost nothing, but on its own, it is way too soft for the middle cargo bay. Drop a heavy battery pack in there during a hard landing, and plain balsa will just crack.
To fix that, we glue a layer of 1mm plywood right onto the inside middle section of both side panels. Spread your glue thin so you don’t add dead weight, press the ply down flat, and stack something heavy on top while it dries. Also, do yourself a favor and draw your frame lines straight across with a pencil now while the wood is still flat on the table. Trying to measure inside a curved box later is a total headache.
2. Building the internal frames out of pine slats
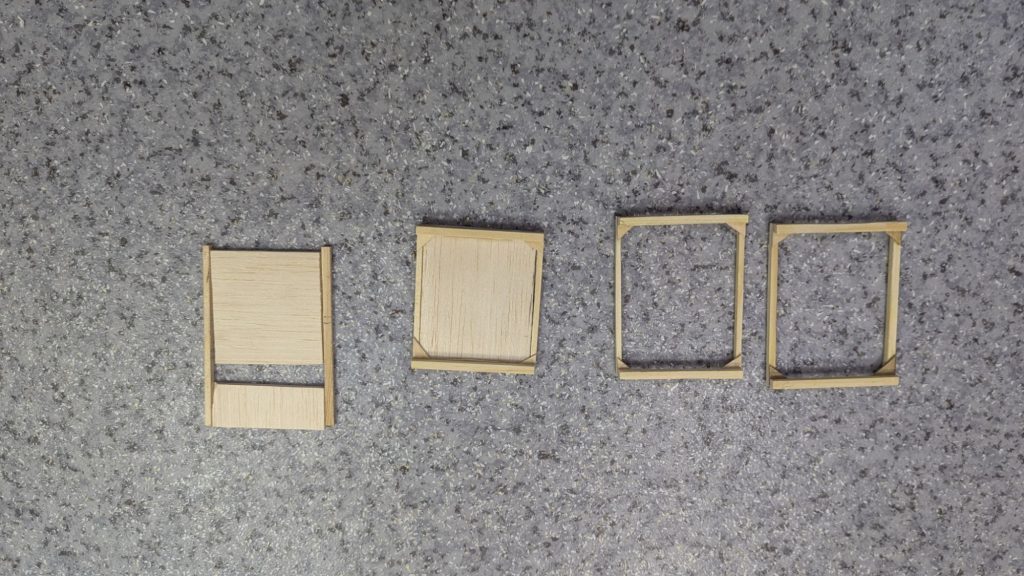
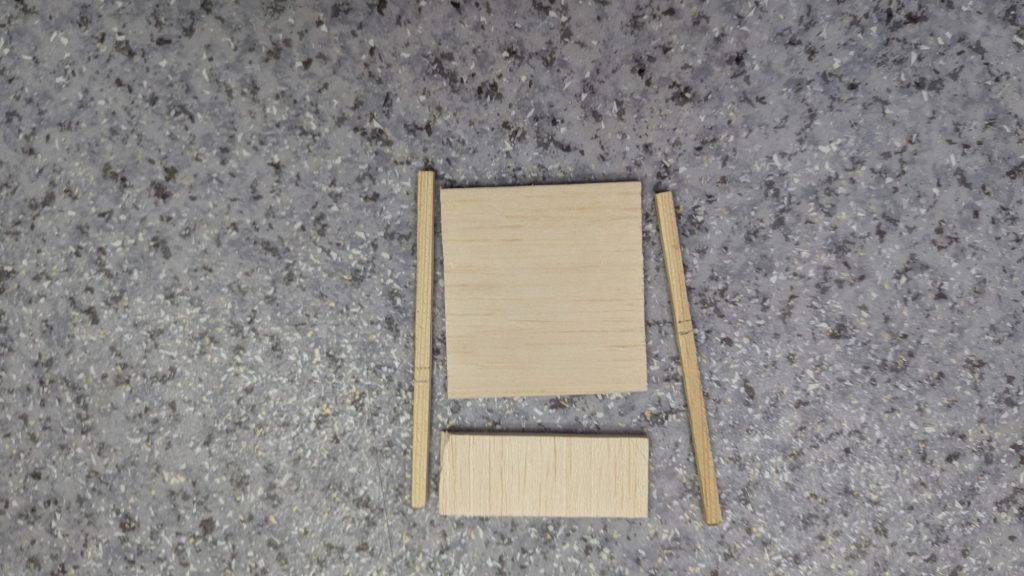
While the side skins are drying under weights, chop up some thin pine slats to build the internal formers. These little rectangular frames give the fuselage its boxy shape and stop the walls from bowing inward.
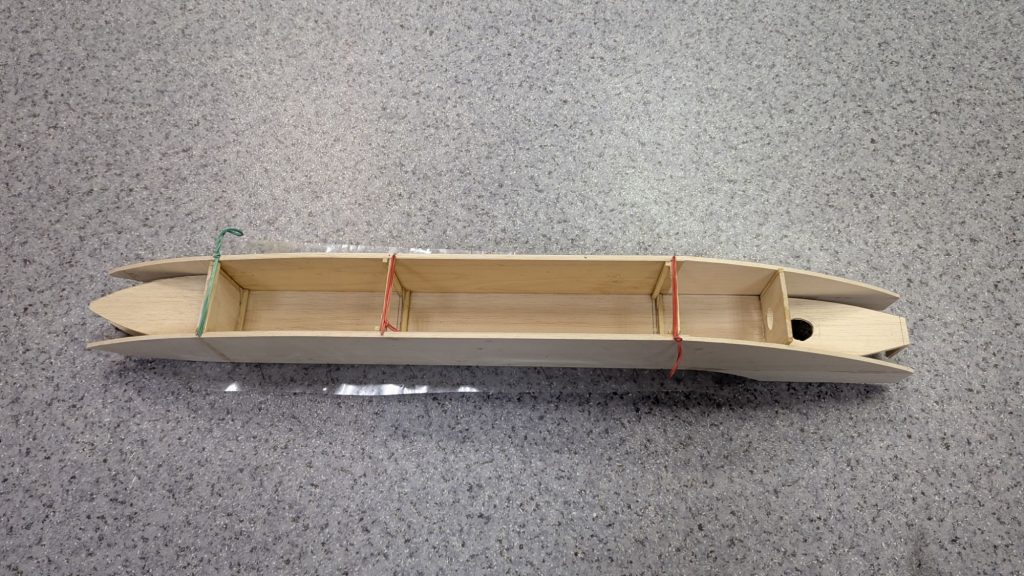
As you can see in the lineup, two of our main middle frames stay completely open in the center so you can slide batteries and electronics back and forth later. Just glue tiny triangle gussets into the corners so they don’t rack out of square. The other two bulkheads get flat wood panels glued between the pine sticks to act as solid walls near the nose and tail. Keep them dead square. If your frames are crooked, your whole plane is going to fly crooked.
3. Joining the body and sides with epoxy resin
Here is where flat wood finally turns into a 3D boat hull. Mix up a batch of slow-curing epoxy resin. Do not use 5-minute epoxy here. It dries way too fast and you will panic before the clamps are on.
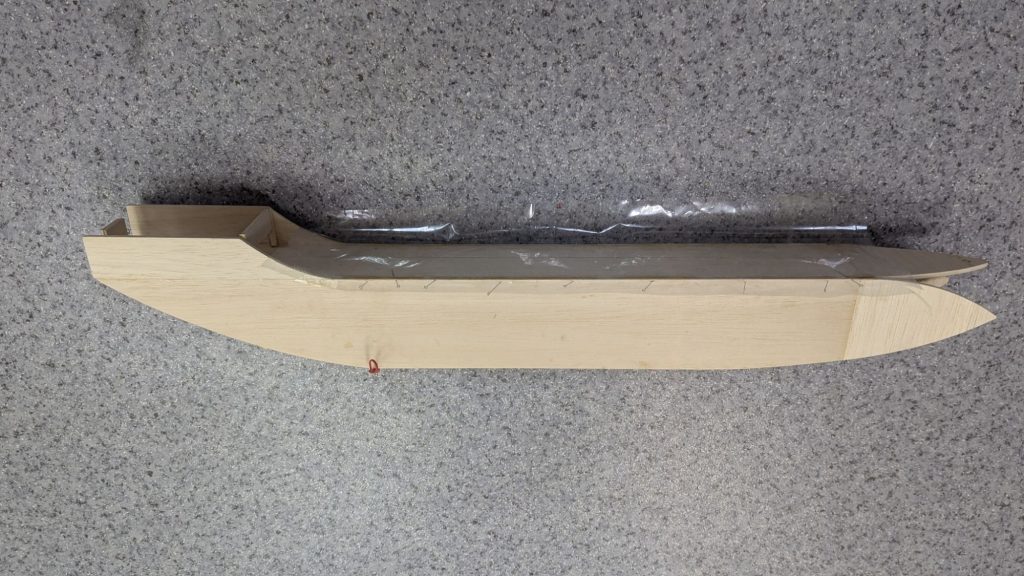
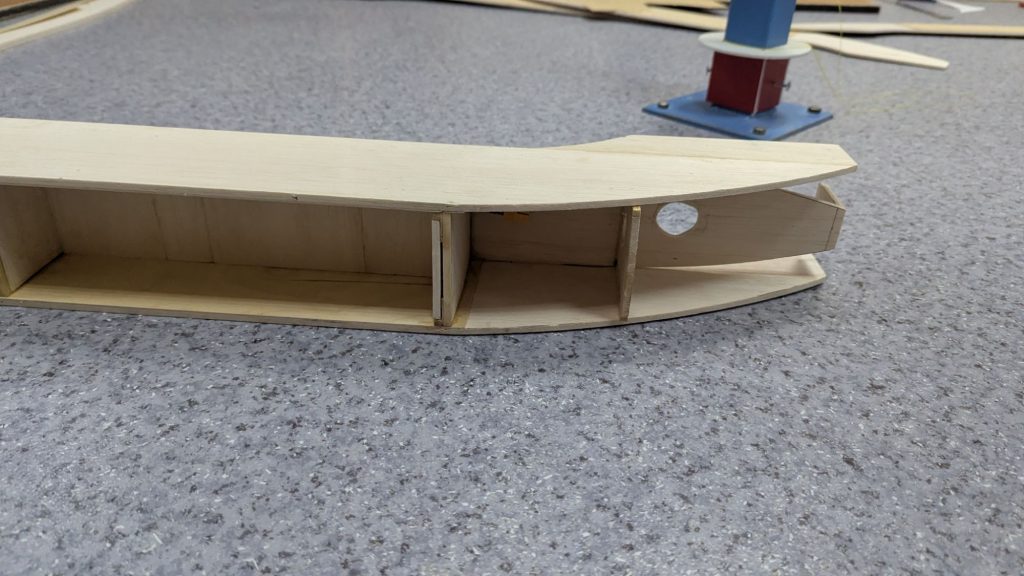
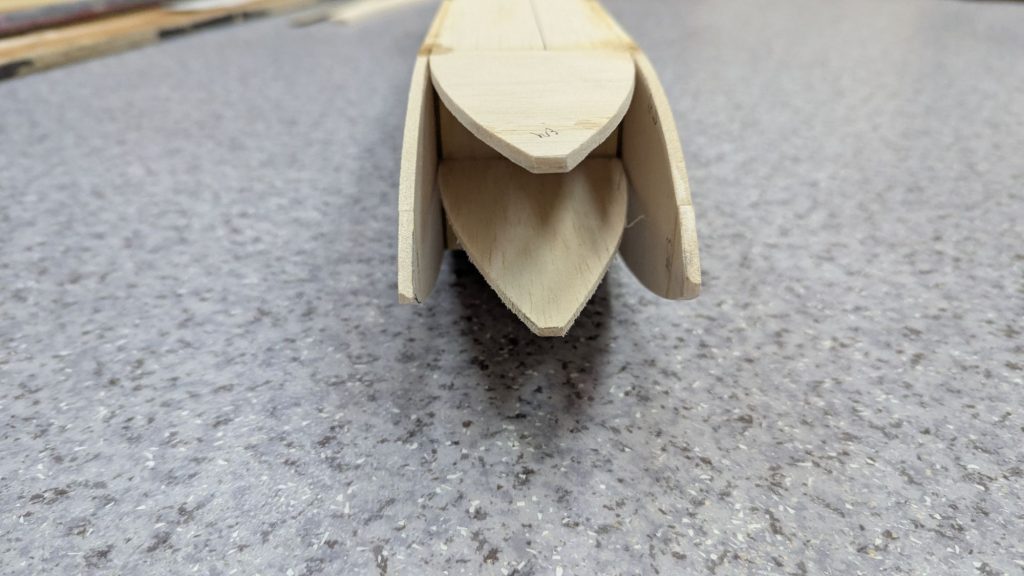
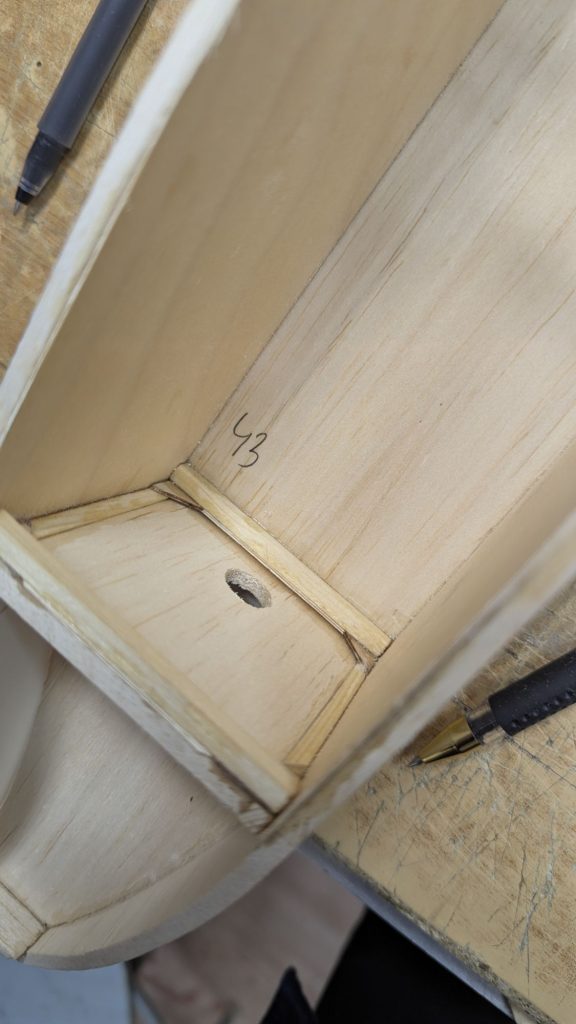
Put clear plastic wrap on your workbench first. Otherwise the new plane glues itself to the table. Brush resin onto the pine frames. Place them between the side walls. Rubber bands, pins and clear tape run, along the joints to pull everything. Inspect the front and back ends carefully where the bent walls press against the nose and tail plates. Wipe off wet glue drips away. Let it dry overnight..
4. Making technical pass-through holes for wiring
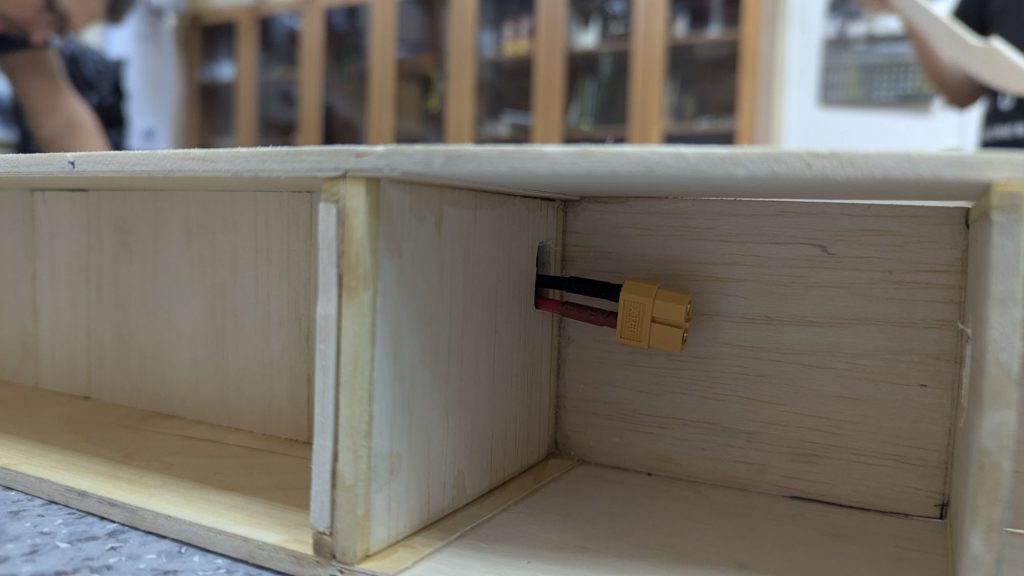
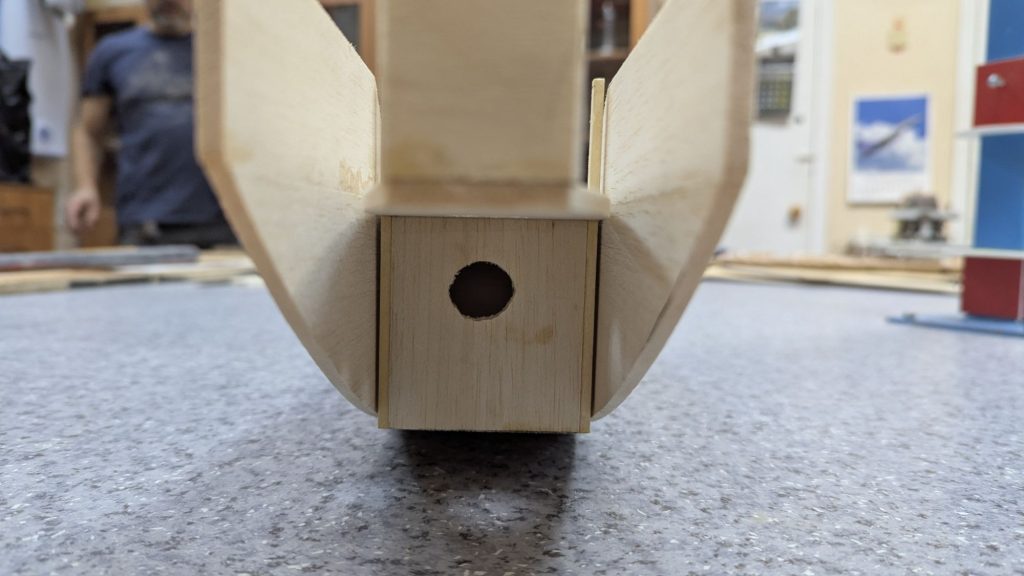
Take the rubber bands and tape off. Now you have a stiff wooden tub. Do not glue the top deck on yet. A closed roof blocks your hands from the tight spots, so use a drill and a hobby knife to cut wire holes right now.
You need clean paths between every compartment. Round holes near the tail and floor work for servo and motor wires. The main middle wall needs a wider square slot so a fat XT60 battery plug can pass through without sticking. Push your real plugs through the holes now to test the fit. Fishing a thick battery wire through a tiny hole after the top is glued down will make you curse.
5. Nose glue-up and bottom wood skin
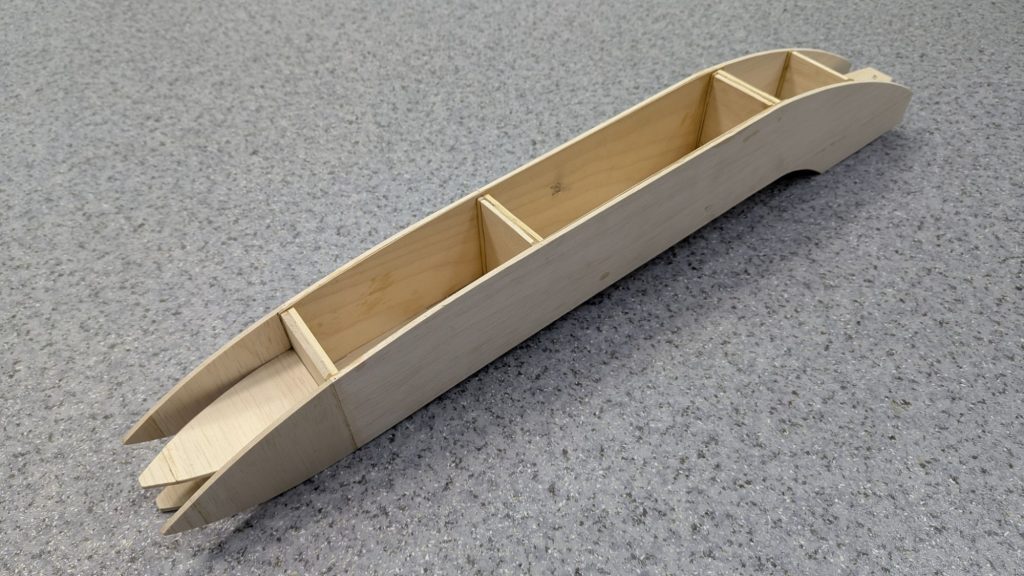
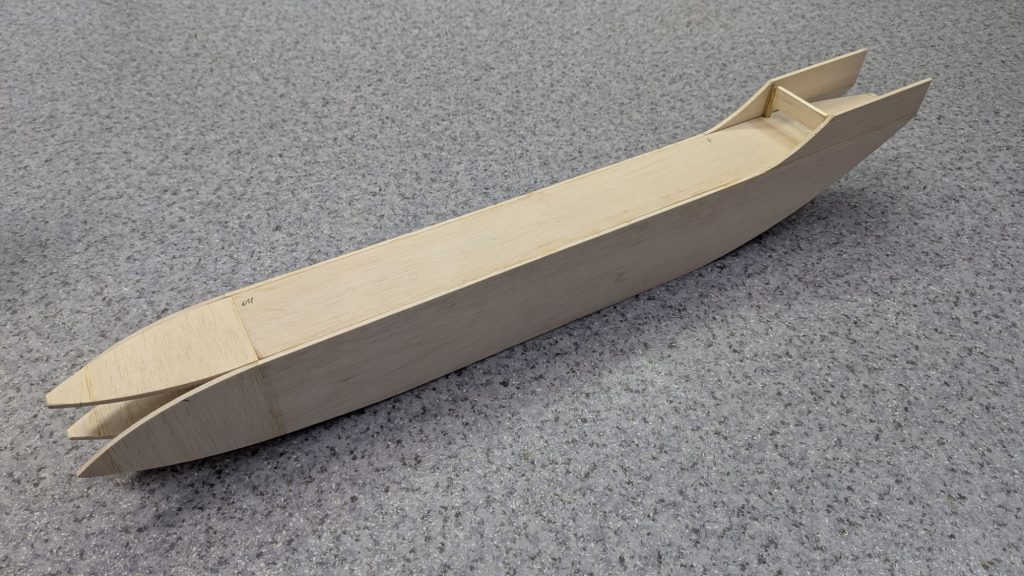
The main sides and bulkheads sit square now, so we move to the front. Two pointed flat plates glue right between the front walls. From the front, the open sides look just like a bird beak. Both plates must sit dead flat against the front wall or the nose will twist while drying.
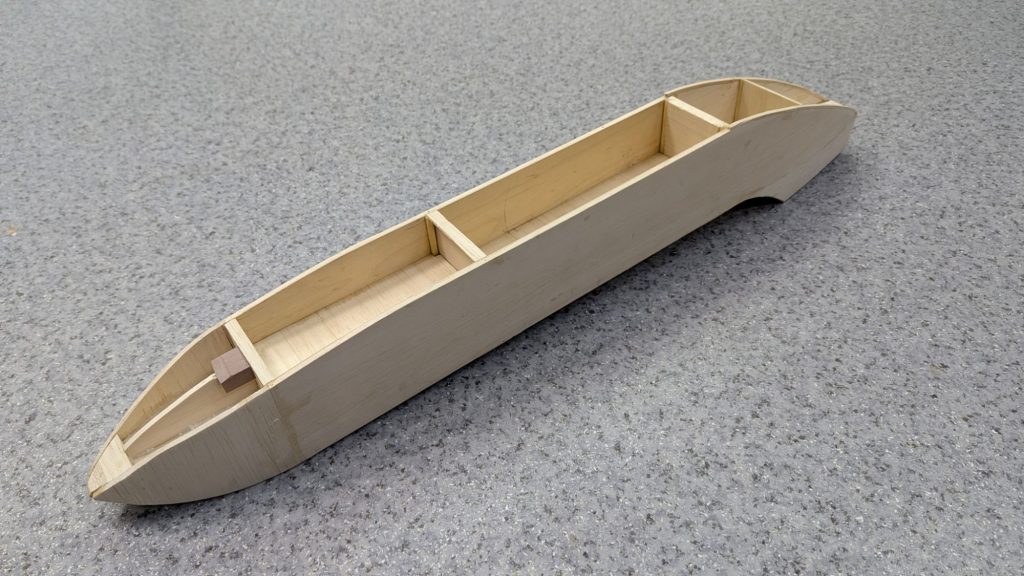
Place the frame down on a flat table. Glue the balsa sheet, to the bottom. The bottom skin locks the box together preventing the hull from warping when you bend the walls. Wait for the bottom wood to dry, pull the two front walls in against the pointed plates, and glue a small balsa block at the very tip. We also added a small wooden block against the front bulkhead inside the nose cavity just to give that joint some extra meat.
6. Framing the Equipment Bays, Cutting the Wing Slot, Mounting the 3mm Plywood Plates, and Making the Air Intake
The bottom of the hull is closed now. Grab a ruler, sanding blocks, and sheet wood to split up the top deck. Cut the top wood and beams into separate pieces. Some pieces glue down to close the hull, and the rest stay open as hatches for the battery and gear.
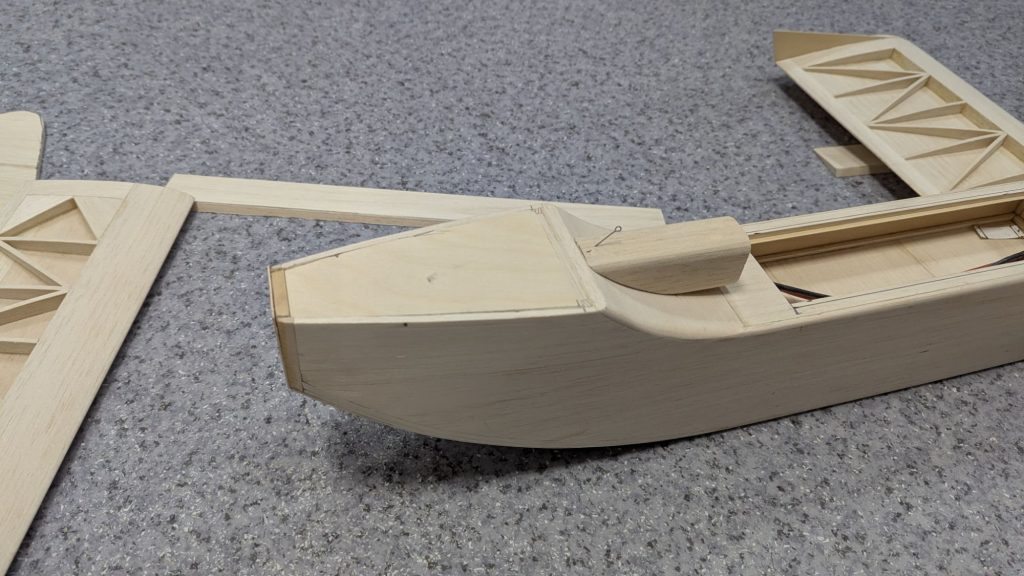
Your ESC, flight controller, and video transmitter are going to get hot in flight, so you need a way to force fresh air inside. Carve a hollow wooden air intake scoop and glue it onto the top hatch cover. You can see a small wire latch pin sticking out of the front of our scoop right next to the unfinished ribbed wings. That simple wire lets the intake double as a spring latch to hold the hatch down in the air.
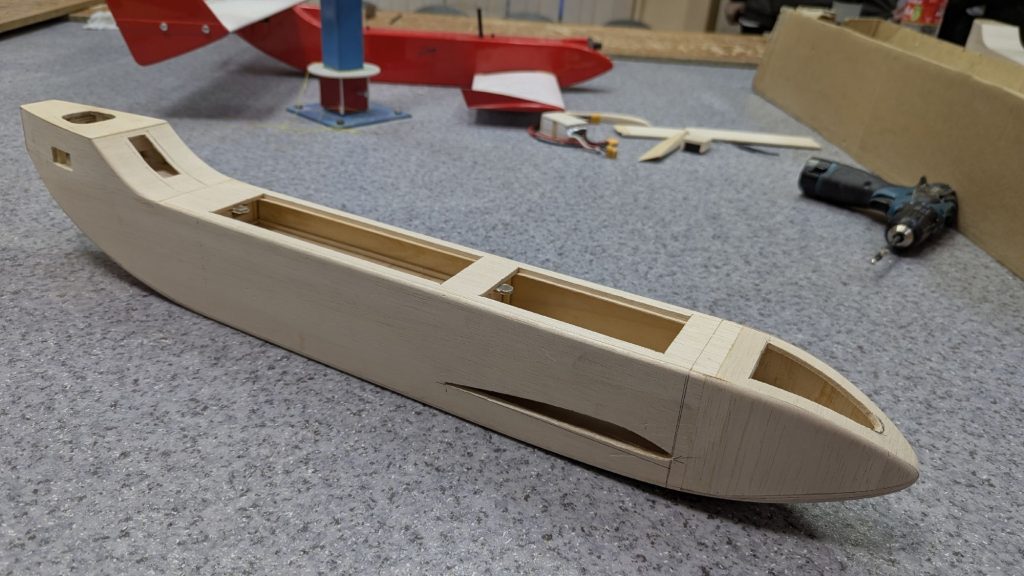
Now comes the part where you have to measure twice and cut once. Mark the airfoil shape along the lower front sides of the hull and carefully cut out the groove where the front wing will slide through. Hard landings can pull wing bolts right through soft wood. First I cut two plates from 3mm plywood. Glued them inside the bays using the mounting bolts. The 3mm plywood spreads the load so the bolts never crush the balsa walls. Then to finish the woodwork I cut out the equipment openings opened the nose bay and carved the rear tail slots so warm air can exit the fuselage cleanly.