
 Written by
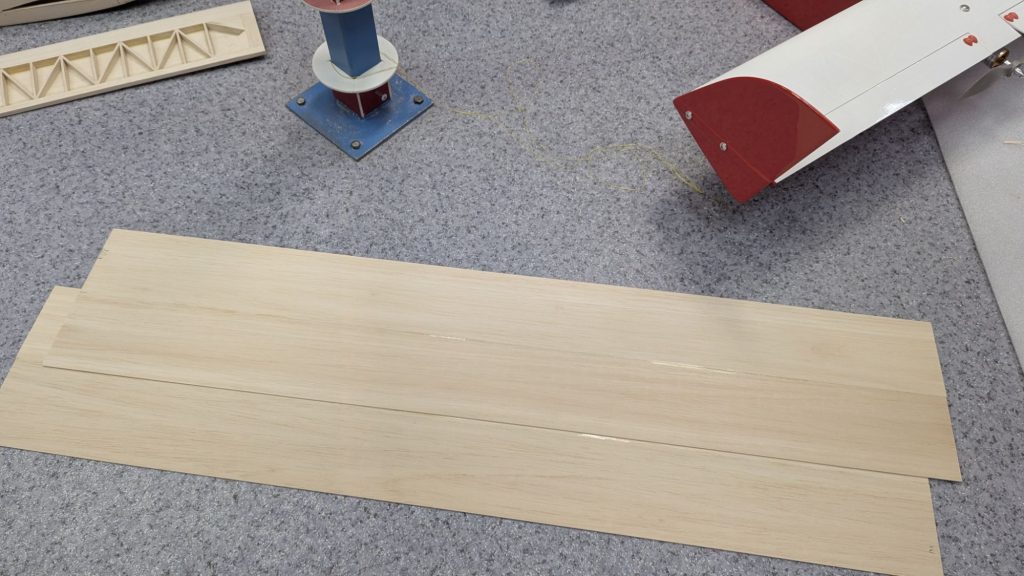
1. The first stage is gluing four 1.5mm plates into two plates.
Standard 100mm balsa strips aren’t wide enough to cover the whole chord in one piece. We start by sorting four 1.5mm balsa sheets on the workbench, trying to keep the grain density as close as possible. You run a fresh blade along the long edges to get a tight seam, hold the pairs together with masking tape, and run thin CA or wood glue down the joint. Flat weights go ain spar out of line.
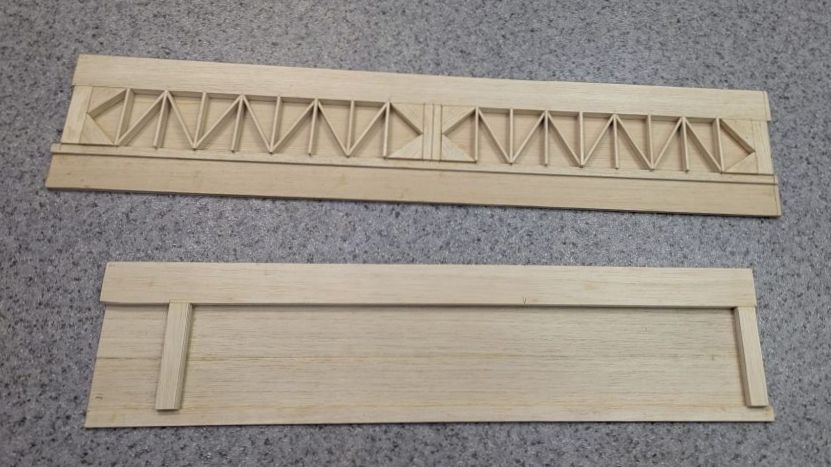
2. The second stage is gluing a 10mm forehead and fitting bosses, contours and corners.
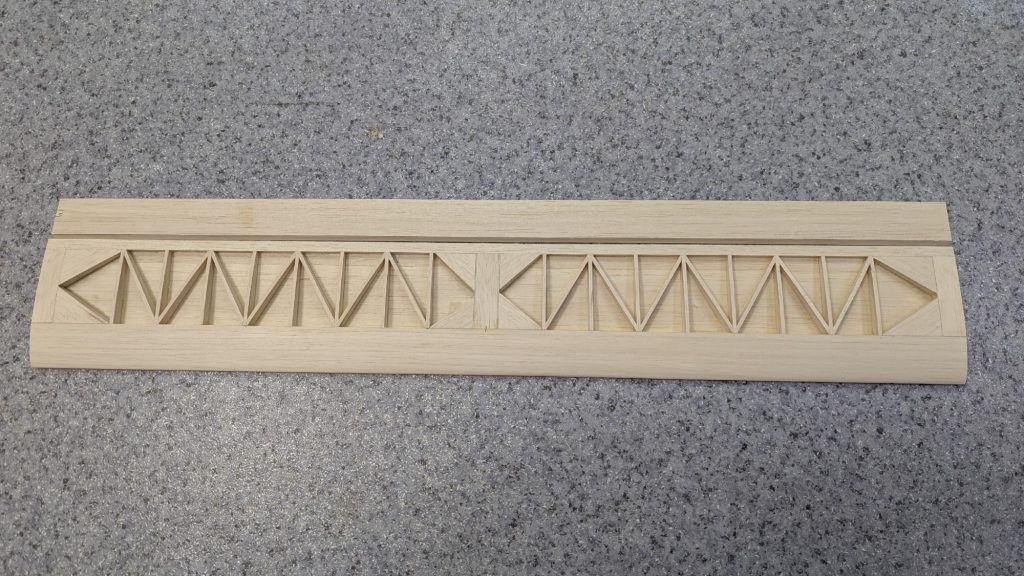
With the bottom skin flat on the board, a solid 10mm balsa strip goes right on the front edge to form the forehead (leading edge). After that, we frame out the wing contour and glue the solid root blocks (bosses) right in the middle to take the flight loads. The rest of the open bay gets filled with a zig-zag truss of balsa ribs and corner gussets. Fitting all those little diagonal sticks takes ages at the sander, because every single angle has to sit flush without pushing the main spar out of line.
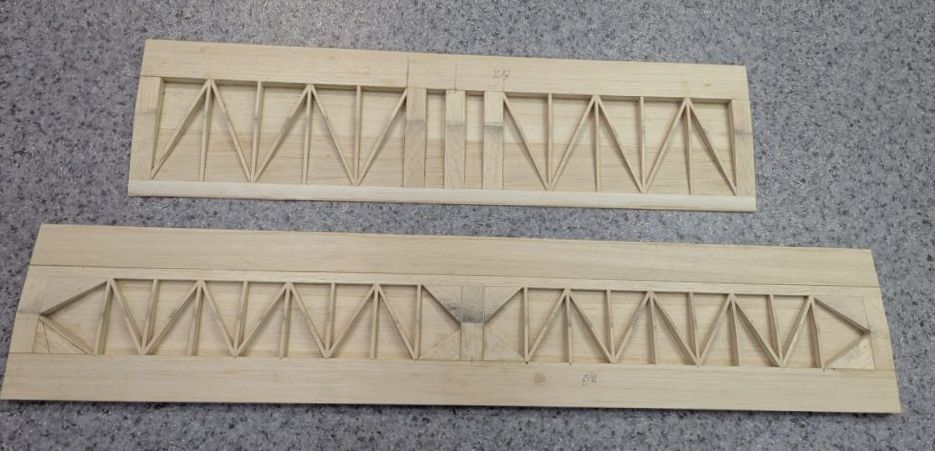
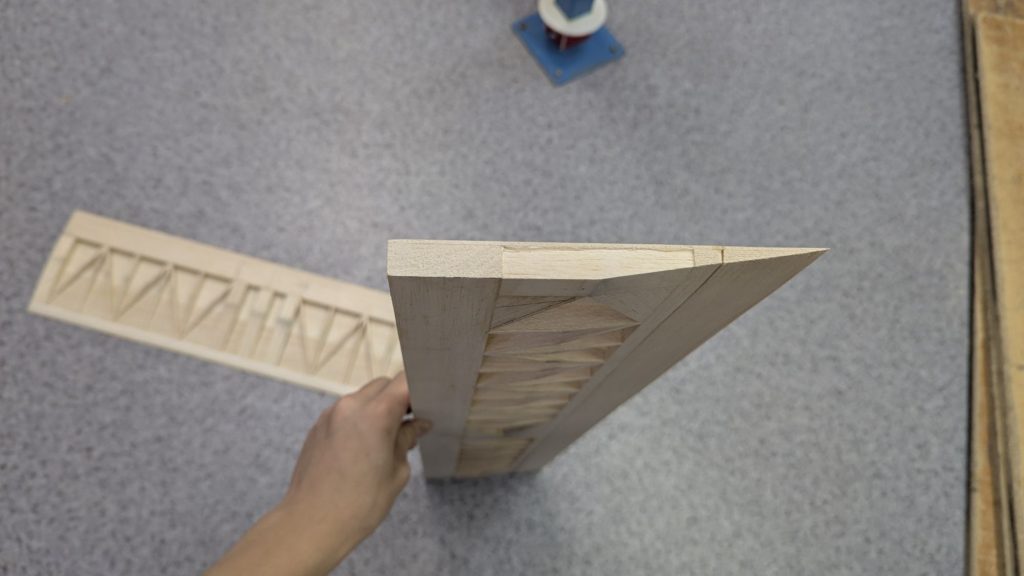
3. Angle the rear part of the wing.
Once the glue on the truss frame dries, the flat stock at the back needs to be tapered down into a proper airfoil shape. I usually pin the panel near the edge of the bench and shave the rear section down at an angle with a small razor plane, then switch to a long sanding bar. Holding the root up to the light lets you check the cross-section—the top of the ribs and the rear wood strip should slant down into a sharp, straight trailing edge.
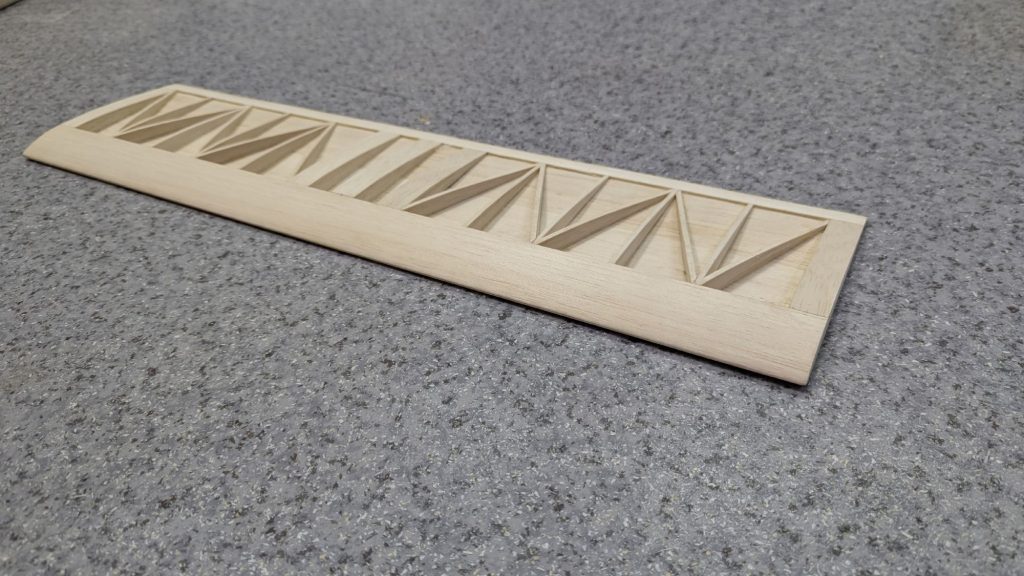
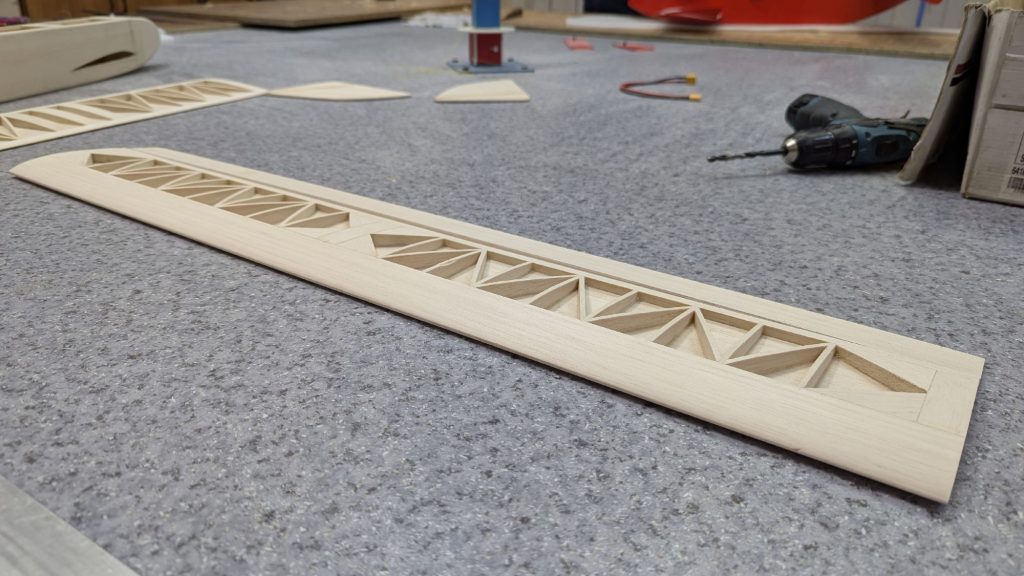
4. Final sandpaper treatment of the wings.
Now it is time to round off that thick 10mm front block and blend the whole top profile together. We knock the hard corners off the nose first and then work down through finer grits of sandpaper across the whole frame. You have to keep running your hand over the wood to check for flat spots or bumps over the ribs. By the time you finish with fine paper, the nose curve and the rear taper feel completely smooth.
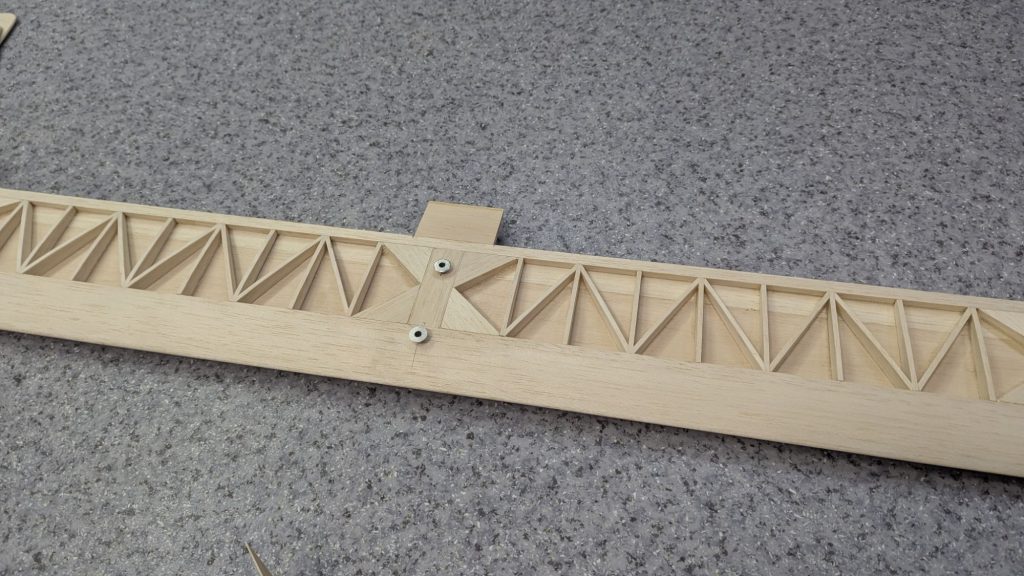
5. Separating the ailerons and adding bolt caps.
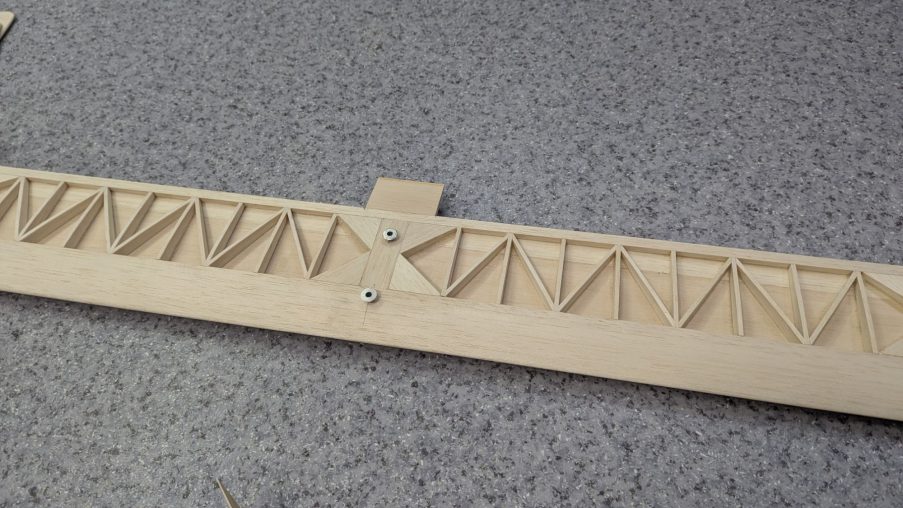
In the last step, we take a sharp hobby saw and slice the rear strip along the marked slot to free up the aileron (or flap) section from the main wing. Right at the center block, we glue the front alignment tab in place and press two metal bolt caps (threaded bushings) straight into the wood. Those inserts let us bolt the wing right onto the fuselage roof without messing around with rubber bands at the field.